How to make your own kefir: the proven method in 7 simple steps
This article is for informational purposes only and does not replace professional medical advice. Consult a healthcare professional before use, especially if you are pregnant, taking medication, or have a chronic condition.
How to make your own kefir : simply mix kefir grains, water, sugar and a dried fruit in a jar, then let it ferment for 24 to 48 hours at room temperature.
- A live probiotic drink, rich in beneficial gut bacteria
- The cost is virtually zero once the grains are obtained, and they multiply indefinitely
- A recipe requiring no special equipment, ready in less than 10 minutes of preparation
- An interesting nutritional profile: B vitamins, digestive enzymes, organic acids
- A natural alternative to sodas and commercial probiotic capsules
Knowing how to make your own kefir allows you to control each ingredient and obtain a living beverage without preservatives or additives. According to a study published on PubMed/NCBI, kefir contains between 10 and 34 strains of beneficial microorganisms, making it one of the most complex fermented drinks in the world.
What is kefir and why learn how to make your own kefir?
Kefir is a fermented drink of Caucasian origin, known for centuries for its digestive benefits. There are two main varieties: fruit kefir (made with water) and milk kefir. Learning how to make your own kefir at home is the most economical and customizable option.
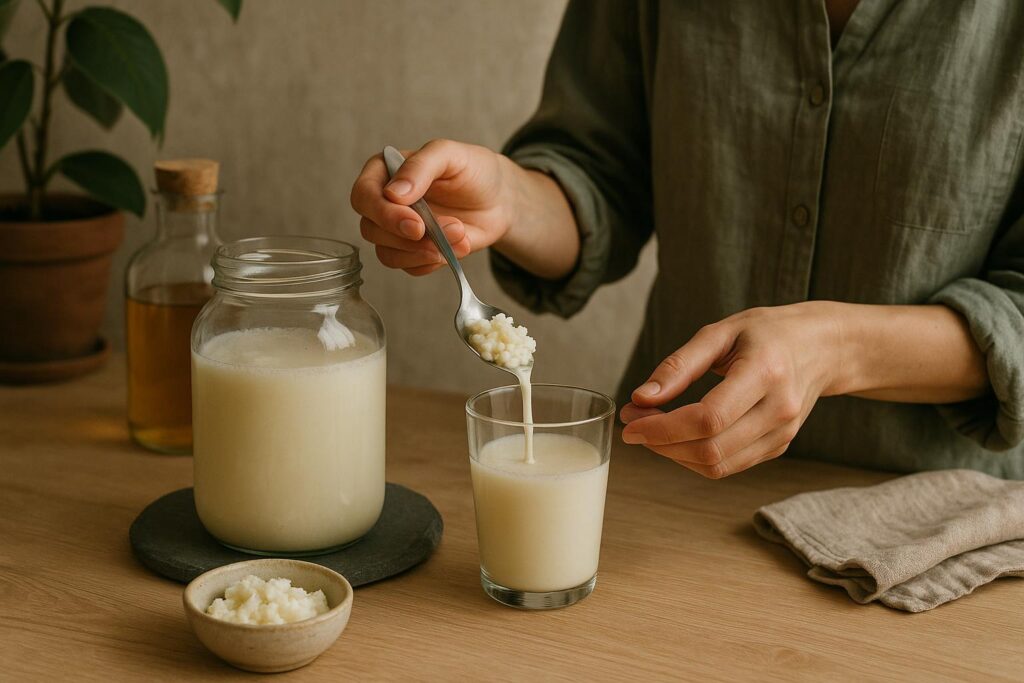
Kefir grains are symbiotic colonies of lactic acid bacteria and yeasts. They resemble small, translucent crystals or cauliflower, depending on the variety. Making your own kefir is known for its positive effects on the gut microbiota, digestion, and immunity.
Fruit kefir vs milk kefir: what's the difference?
- Fruit kefir: water-based, slightly sparkling, lactose-free, suitable for vegans
- Milk kefir: milk-based, creamy, higher in protein, not recommended for those with lactose intolerance
- Both types contain live probiotics and B vitamins
- Fruit kefir is often recommended for beginners, as its fermentation is faster and more visible
In practice, making your own kefir allows you to choose between these two versions according to your dietary preferences and digestive tolerance.
The essential ingredients for making your own kefir
The list of ingredients is short. This is one of the great advantages of knowing how to make your own kefir : no need for hard-to-find products or expensive equipment.
Ingredients for 1 liter of homemade fruit kefir
| Ingredient | Recommended quantity | Role |
|---|---|---|
| Fruit kefir grains | 30 to 50 g | Source of fermenting microorganisms |
| Water (filtered or left to stand) | 1 liter | Base of fermentation |
| Brown or blond sugar | 30 to 60 g | Grain feed (80% consumed) |
| Dried fig | 1 to 2 | Provides natural yeasts and minerals |
| Organic lemon slice (optional) | 1 | Acidifies slightly, improves preservation |
The best way to make your own kefir is with lightly chlorinated water. Tap chlorine can inhibit the microorganisms in the grains. Let the water sit for 30 minutes in the open air or use a water filter pitcher to remove residual chlorine.
How to make your own kefir: the 7 detailed steps
Here's a step-by-step guide to making your own kefir at home, from preparing the jar to bottling. Each step is essential for obtaining a healthy and sparkling drink.
Step 1 — Prepare the jar
Use a glass jar of at least 1.5 liters. Wash it thoroughly in hot water without antibacterial soap (detergent residue kills the grains). Rinse well.
Step 2 — Dissolve the sugar
Pour 30 to 60 g of brown sugar into the jar. Add a little lukewarm (not hot) water and mix with a wooden spoon until completely dissolved. Top up with the remaining cold water to make 1 liter.
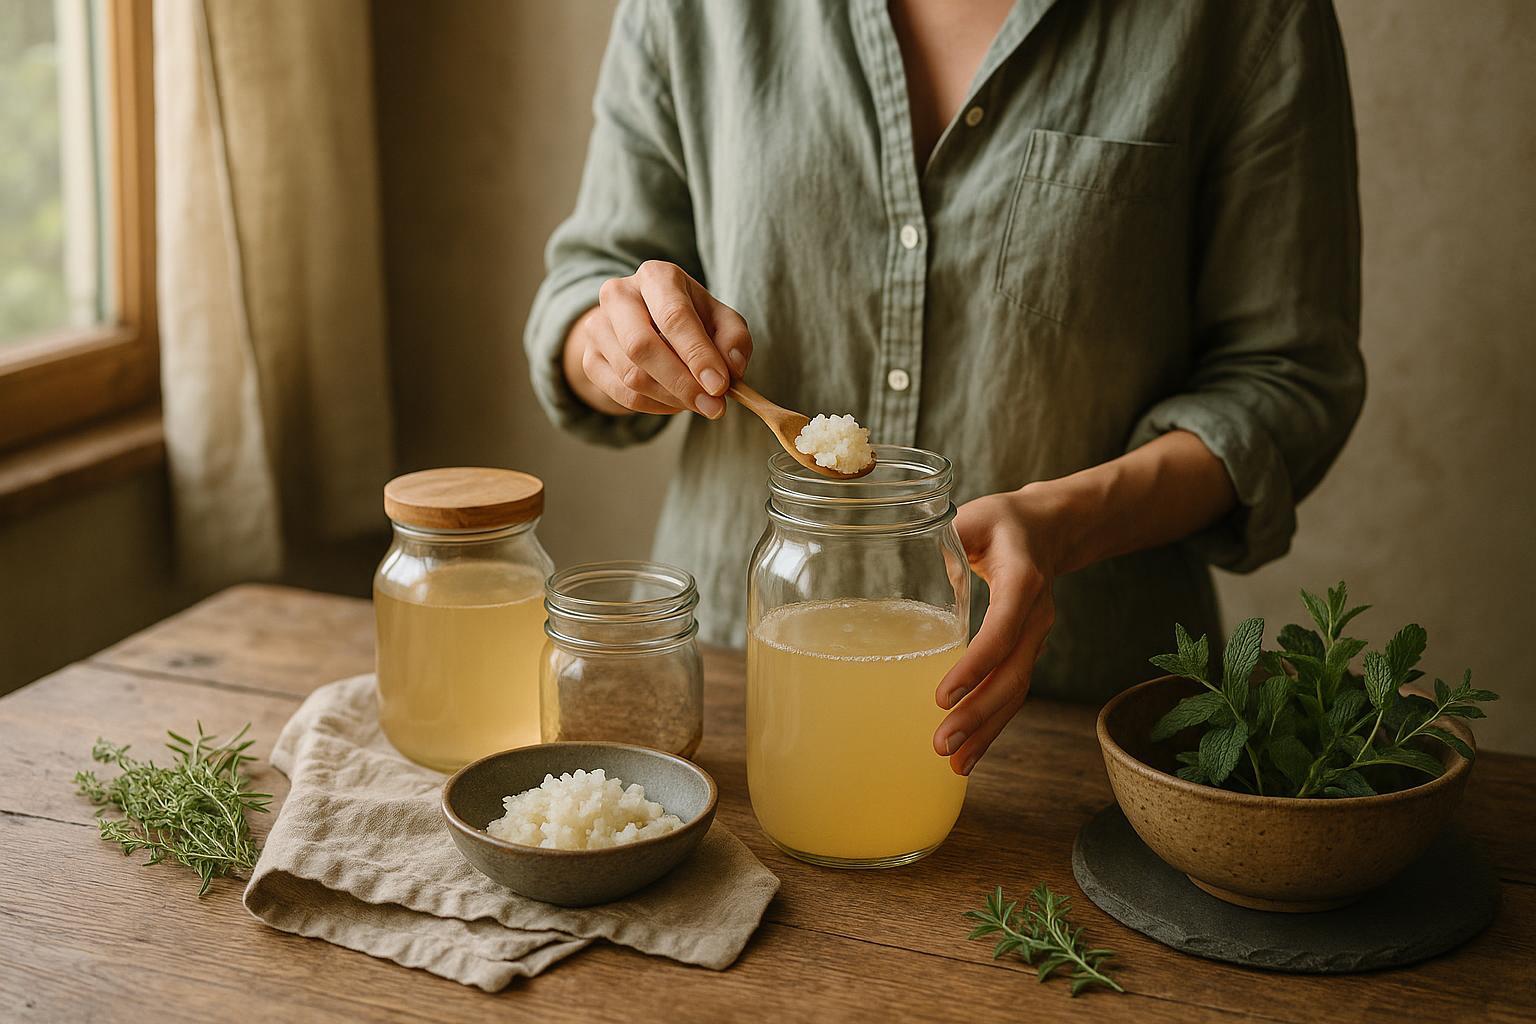
Step 3 — Add the kefir grains
Gently place 30 to 50 g of kefir grains into the sweetened water. Making your own kefir is known for its simplicity at this stage: the grains do not need to be rinsed after each cycle, unless they seem sticky or smelly.
Step 4 — Add the fig and lemon
Place 1 to 2 dried figs in the jar. Add a slice of organic lemon if you wish. The fig provides natural yeasts from its skin, which enhance the fermentation process.
Step 5 — Cover and let ferment
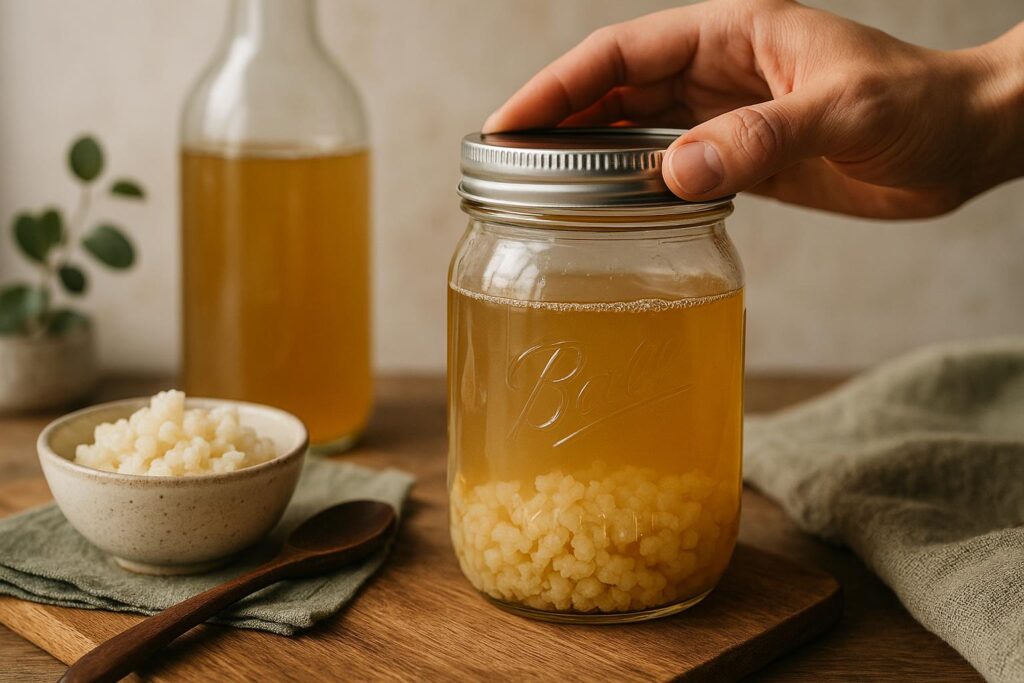
Cover the jar with a clean cloth or cheesecloth secured with a rubber band. Do not seal tightly: fermentation produces CO₂ which must be able to escape. Place the jar at room temperature (18 to 25°C), away from direct sunlight.
Step 6 — Monitor the fermentation (24 to 48 hours)
After 24 hours, the grains begin to rise to the surface, a sign that fermentation is active. Specifically, the time it takes to make your own kefir affects the drink's composition: 24 hours produces a mild, slightly fizzy kefir, while 48 hours results in a more acidic and carbonated kefir.
Step 7 — Filter and bottle
Strain the kefir through a plastic or nylon sieve. Collect the grains, rinse them if necessary, and repeat the process. Pour the strained kefir into an airtight bottle (such as a swing-top bottle) and refrigerate. The drink will keep for 3 to 5 days.
How to make your own kefir: mistakes to absolutely avoid
Even though it's simple, the recipe has a few pitfalls. Here are the most common mistakes people make when learning how to make their own kefir for the first time.
Mistake 1 — Using water with too much chlorine
Chlorine is bactericidal. It can weaken or kill the grains over time. Always let the water sit or use filtered water. In practice, making your own kefir allows you to easily get around this problem with a simple filter pitcher.
Error 2 — Seal the jar tightly
Fermentation produces carbon dioxide. A tightly sealed jar can explode. Always use a cloth or cheesecloth for the first fermentation.
Mistake 3 — Using metal utensils
Metal oxidizes and damages the grains. Use only wood, food-grade plastic, or silicone to handle the grains.
Error 4 — Fermenting at an unsuitable temperature
- Below 15°C: fermentation is too slow, the kefir remains flat
- Above 30°C: fermentation accelerates rapidly, and the kefir quickly becomes too acidic
- Ideal temperature: between 18 and 25°C
Error 5 — Neglecting the grains between two cycles
If you're not making kefir for several days, place the grains in a jar of sweetened water in the refrigerator. They will keep for several weeks this way. Choosing a good kefir makermeans, above all, taking care of your grains between each fermentation. To find out if your grains are still active: how to tell if kefir grains are still good.
The proven health benefits of homemade kefir
Knowing how to make your own kefir goes far beyond simply saving money. Homemade kefir offers nutritional benefits documented by scientific research.
Probiotics and the gut microbiota
Kefir contains billions of CFU (colony-forming units) per milliliter. These live microorganisms contribute to a balanced gut microbiota. A meta-analysis available on PubMed/NCBI confirms the positive effect of fermented beverages on gut microbial diversity.
Digestion and intestinal comfort
The enzymes produced during fermentation aid in the digestion of sugars and proteins. People with mild lactose intolerance often tolerate milk kefir better than regular milk because the bacteria break down some of the lactose during fermentation.
Immunity
According to Harvard Health Publishing, 70% of the immune system is located in the gut. A balanced gut microbiota strengthens the immune response. Making your own kefir is known to contribute to this balance naturally and economically.
Vitamin and mineral intake
| Nutrient | Presence in kefir | Main role |
|---|---|---|
| Vitamin B12 | Traces (especially milk kefir) | Nervous system, energy |
| Vitamin B9 (folate) | Present | DNA synthesis |
| Calcium | Present (milk kefir) | Bones, teeth |
| Lactic acid | Here | Regulation of intestinal pH |
| Digestive enzymes | Abundant | Digestion of carbohydrates and proteins |
How do I get kefir grains to start?
Before learning how to make your own kefir, you first need to obtain live grains. Here are the best options.
Peer-to-peer sharing networks
Kefir grains multiply with each fermentation. Those who have grains often have too many and share them for free. Facebook groups, fermentation forums, and local sharing platforms make it easy to find them in your city. This is the most economical and ethical solution.
Organic shops and specialty grocery stores
Some health food stores sell dehydrated kefir grains. These require 3 to 5 days of rehydration before becoming fully active. The best way to make your own kefir is always to start with live grains rather than dehydrated ones, if you have the choice. Our complete guide: where to buy kefir grains: 7 best sources.
Specialized online stores
Specialized fermentation vendors offer fresh grains shipped within 48 hours. Check reviews and choose a vendor who guarantees the grains' viability upon delivery.
How to make your own kefir: variations and customizations
Once the basic recipe is mastered, learning how to make your own kefir opens the door to many tasty and nutritious variations.
Variant with fresh fruit
After the first fermentation, add fresh fruit (raspberry, ginger, lime, mango) during the second fermentation in a sealed bottle. The natural sugars from the fruit continue to feed the microorganisms and create a more pronounced natural effervescence.
Ginger and lemon variation
Add a slice of fresh ginger and lemon juice during F1. This combination is particularly appreciated for its digestive and anti-inflammatory properties documented by the NIH/NCCIH.
Homemade milk kefir
Use milk kefir grains (different from fruit kefir grains) and fresh whole milk. Fermentation takes 24 hours at room temperature. The result is a slightly acidic, liquid yogurt that is very rich in probiotics. In practice, making your own milk kefir follows the same principle as the fruit kefir version, but with specific grains.
- Recommended ratio: 1 tablespoon of grains per 250 ml of milk
- Ideal temperature: 20 to 22°C
- Duration: 24 hours for mild kefir, 36 hours for more acidic kefir
- Storage: 5 to 7 days in the refrigerator
Dosage and consumption: how much kefir to drink per day?
In practical terms, making your own kefir only affects your digestive health if you consume it regularly and in moderation. Here are the general recommendations.
Recommended quantities
- Beginners: start with 100 to 150 ml per day for 1 to 2 weeks to allow your intestines to adjust.
- Typical use: 200 to 300 ml per day, preferably in the morning on an empty stomach or between meals
- Maximum recommended intake: 500 ml per day for a healthy adult
To learn more about the optimal time to consume: when to drink kefir to maximize its benefits.
Contraindications and precautions
Kefir contains traces of alcohol (0.5 to 2% depending on the fermentation time) and is not recommended for pregnant women, children under 3 years old, or people undergoing immunosuppressive treatment. People suffering from irritable bowel syndrome (IBS) should introduce kefir very gradually and consult their doctor. ANSES (the French Agency for Food, Environmental and Occupational Health & Safety)recommends caution with homemade fermented foods in cases of chronic digestive disease.
How to store your kefir grains and make them last over time
One of the great advantages of knowing how to make your own kefir is that the grains are infinitely reusable. With proper care, they can be passed down from generation to generation.
Short-term storage (less than 2 weeks)
Place the grains in a jar with sugar water (1 teaspoon of sugar per 200 ml of water). Seal and refrigerate. Change the sugar water every 7 to 10 days.
Long-term storage (several months)
Air-dry the grains on a clean cloth for 24 to 48 hours, then store them in an airtight bag in the freezer. To reactivate them, let them thaw and rehydrate them in sugar water for 3 to 5 days, changing the water daily.
Making your own kefir remains one of the most sustainable solutions for maintaining a source of live probiotics at home without recurring expense.
How to make your own kefir: food safety issues
Home fermentation is generally safe, but a few hygiene rules are essential when regularly practicing how to make your own kefir .
Signs that a kefir has failed
- A putrid or strong cheesy odor (different from normal acidity)
- Mold visible on the surface (colored fuzz: pink, green, black)
- Grains that turn pink or become unusually viscous
- No fermentation occurred after 48 hours (inactive grains)
If in doubt, discard the mixture and rinse the grains thoroughly before starting again. Food safety is the top priority when making your own kefir at home.
Why is making your own kefir more interesting than buying it from the store?
Commercially produced kefir sold in supermarkets is often pasteurized, which destroys a large portion of the live microorganisms. Learning how to make your own kefir guarantees a truly living, unpasteurized drink that is much richer in active probiotics.
| Criteria | Homemade kefir | Commercially produced kefir |
|---|---|---|
| Live probiotics | Yes (billions of CFU/ml) | Variable (often pasteurized) |
| Cost per litre | Less than €0.20 | €1.50 to €4 |
| Additives | None | Flavorings, possible stabilizers |
| Customization | Total | None |
| Sustainability | Infinitely reusable grains | Recurring purchase |
Choosing a good way to make your own kefiris above all an investment of just once in live grains to benefit from an unlimited source of natural probiotics.
- How to make your own kefir : 4 ingredients are enough (grains, water, sugar, fig) for a live probiotic drink ready in 24 to 48 hours.
- Successful homemade kefir recipe: avoid metal, heavily chlorinated water and airtight jars during the first fermentation.
- Making your own kefir is known to produce a drink much richer in live microorganisms than pasteurized industrial versions.
- The kefir grains used in how to make your own kefir multiply with each cycle and can be stored indefinitely in the refrigerator or freezer.
- To get the most out of making your own kefir, start with 100 to 150 ml per day and gradually increase according to your digestive tolerance.
Frequently asked questions about how to make your own kefir
How can I make my own kefir without starting grains? Is it possible?
No, kefir grains are essential. They contain the colonies of bacteria and yeasts that enable fermentation. Without live grains, you cannot produce real kefir. Obtain grains from an individual, an organic shop, or a specialized online retailer before you begin.
How long does it take to make your own kefir for the first time?
Preparation takes less than 10 minutes. Fermentation lasts between 24 and 48 hours depending on the ambient temperature and the quantity of grains. The first few times, the kefir may be less fizzy and less acidic while the grains regain their full activity, especially if they have been dormant for a while.
How to make your own kefir with plant-based milk, is it effective?
Milk kefir grains can ferment in some plant-based milks (coconut milk, cashew milk), but they don't adapt as well in the long term. The grains can weaken if they don't regularly return to animal milk. Alternating between animal and plant-based milk is often recommended to maintain the grains' vitality.
How to make your own kefir when it's very hot in the summer?
In summer, reduce the fermentation time to a maximum of 18 to 24 hours. Above 28°C (82°F), fermentation accelerates and the kefir quickly becomes too acidic and alcoholic. Place the jar in the coolest spot in your home, away from direct heat sources.
Do kefir grains really double in volume with each cycle?
Yes, under optimal conditions, the grains increase by 10 to 20% in volume with each fermentation. Over time, you'll have more than you need. Share the surplus with friends and family, or eat it yourself: it's edible and nutritious.
How to make your own kefir without sugar, for diabetics?
Sugar is essential for fermentation: it feeds the microorganisms. However, about 80% of the added sugar is consumed during fermentation. The final kefir therefore contains very little residual sugar. Consult your doctor before consuming it regularly if you are diabetic.
How to make your own kefir: is it dangerous for children?
Homemade kefir contains traces of alcohol (0.5 to 2%) and is not recommended for children under 3 years old. For older children, a small amount (50 to 100 ml) can be considered, but consult a pediatrician before introducing it into their regular diet.
Can honey be used instead of sugar when making homemade kefir?
Honey is antibacterial and can inhibit kefir grains, especially if raw. It is strongly advised against replacing sugar with honey in the basic recipe. You can safely add honey to the glass after straining to sweeten the final drink.
How to make your own kefir while travelling or on holiday?
Place your grains in an airtight jar with very sweet water (2 tablespoons of sugar per 200 ml of water) and refrigerate. They can be kept this way for 2 to 3 weeks without active fermentation. For longer absences, freeze them after lightly drying them.
How to make your own kefir naturally more fizzy?
For extra fizz, perform a second fermentation (F2): after filtering, pour the kefir into an airtight bottle such as a Swing Top, add a little fresh fruit juice, seal tightly, and leave for 12 to 24 hours at room temperature. Open carefully, as the pressure may be high.
How to make your own kefir: what is the difference with kombucha?
Kefir uses grains (colonies of bacteria and yeast) and ferments in 24 to 48 hours. Kombucha uses a SCOBY (Symbiotic Culture Of Bacteria and Yeast) and ferments for 7 to 14 days. Kefir is richer in lactic acid bacteria, while kombucha is richer in organic acids. To compare them: kombucha or kefir: which one to choose based on your profile?
How do you make your own kefir when the grains don't rise to the surface?
If the grains remain at the bottom after 24 hours, several causes are possible: water that is too cold, water that is too chlorinated, grains that have been inactive for a long period, or an insufficient sugar-to-water ratio. Check the temperature (minimum 18°C/64°F), change the water, and add a little more sugar. The grains usually resume their activity in 1 to 3 cycles.
Mastering how to make your own kefir is one of the simplest and most cost-effective ways to incorporate natural probiotics into your daily routine. With just four ingredients, less than 10 minutes of preparation, and 24 to 48 hours of waiting, you get a living, customizable beverage that's far superior to pasteurized, commercially produced versions. The grains multiply with each cycle, making it a one-time investment for an unlimited source of digestive benefits.
Studies and scientific sources
- Studies on the microbial composition of kefir and its effects on the gut microbiota — PubMed / NCBI
- Recommendations on fermented foods and food safety — World Health Organization
- Probiotics, Fermentation, and Digestive Health: State of Knowledge — Harvard Health Publishing
- Research on Probiotics and Traditional Fermented Beverages — NIH/NCCIH
- Risk assessment of home-fermented foods — ANSES
This article is provided for informational purposes only and does not constitute medical advice. Consult a qualified healthcare professional before use.