How to make your own kefir: the guaranteed 5-step homemade method
This article is for informational purposes only and is not a substitute for professional medical advice. Consult a healthcare professional before adding kefir to your diet if you have any pre-existing medical conditions.
How to make your own kefir : simply mix kefir grains with sweetened water or milk, then let it ferment for 24 to 48 hours at room temperature in a glass jar.
- A drink naturally rich in live probiotics
- Economical and infinitely reproducible preparation
- Recognized support for gut flora
- Low sugar content after complete fermentation
- Customizable according to fruits, flavors and fermentation times
Making kefir at home is accessible to everyone, even those without fermentation experience. According to a study published on PubMed, kefir contains between 10 and 34 strains of beneficial microorganisms, making it one of the fermented beverages richest in probiotics. Making kefir correctly guarantees a live, flavorful drink that's good for your digestive health.
The essential ingredients for making your own kefir
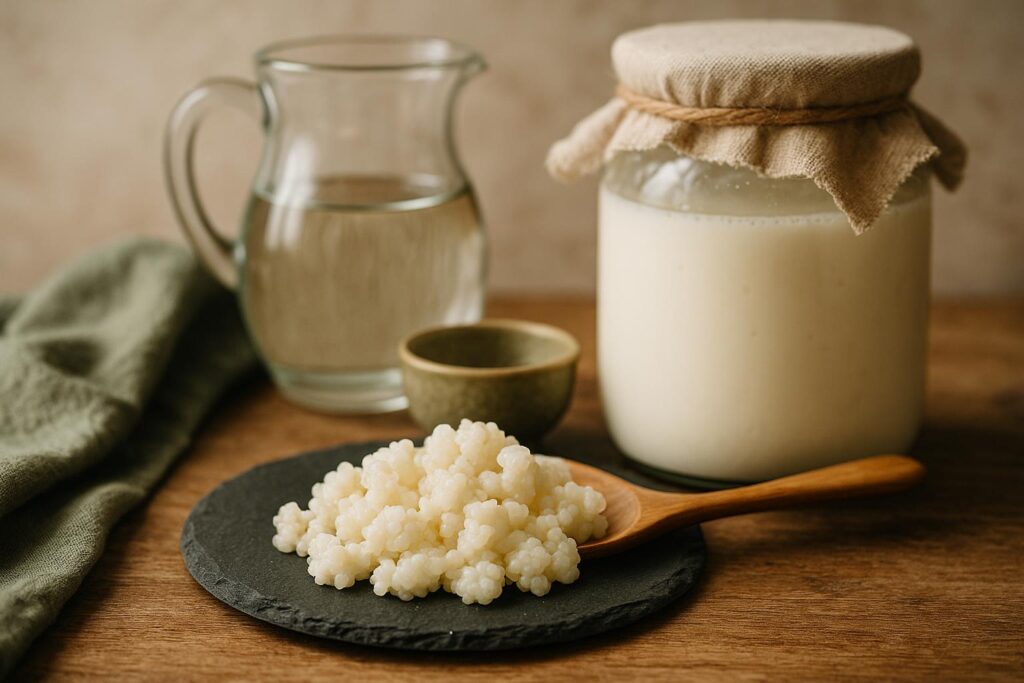
Before you can learn how to make kefir, you need to gather the right ingredients. The quality of each component directly influences the probiotic content and the final taste of your fermented drink.
Here's what you need for 1.5 liters of fruit kefir:
- 50 to 60 g of kefir grains — obtained from an individual, an association or an organic store
- 1.5 liters of water — preferably filtered or left to settle for 1 hour if it is chlorinated
- 60g of light brown or cane sugar — a source of food for the grains, it will be largely consumed during fermentation
- 2 dried figs or dates — the yeasts present on their skin activate fermentation
- 1 slice of organic lemon — provides acidity and protects against unwanted bacteria
- A 2-liter glass jar with a non-airtight lid or fabric
Avoid using any metal utensils in direct contact with the grains: metal can damage live cultures. Opt instead for wood, food-grade plastic, or glass.
Making milk kefir follows the same principle but replaces the sweetened water with whole or semi-skimmed milk. Milk kefir grains are different from water kefir grains: do not use them interchangeably.
Step 1 — Prepare the sugar water for making kefir
The first step in making kefir is to prepare a balanced sweetened base. Pour 1.5 liters of water into your glass jar. If you are using tap water, let it sit uncovered for an hour to allow the chlorine to evaporate naturally.
Next, add 60g of light brown sugar. Stir with a wooden spoon until completely dissolved. Sugar is the energy source for kefir grains; without it, fermentation won't start. Avoid using large quantities of raw honey, as its natural antibacterial properties can inhibit the cultures.
This simple step is crucial: overly chlorinated water or unsuitable sugar slows down fermentation and reduces the probiotic content of your drink. In practice, learning how to make your own kefir allows you to control every variable from the start for consistent results.
Step 2 — Add the grains and fruit to make your kefir
Once the sweetened water is ready, add your kefir grains, rinsed in cold, non-chlorinated water. Then place 2 dried figs (or dates) and a slice of organic lemon directly into the jar.
Figs play a key role in making fruit kefir: their skin contains natural yeasts that enrich the fermentation and accelerate carbon dioxide production. Lemon, meanwhile, maintains a slightly acidic pH that protects the drink from contamination.
You can also add other dried fruits—apricots, raisins, prunes—to vary the flavors. Making your own kefir remains one of the most flexible ways to personalize a homemade probiotic drink.
To learn more about fruity variations, see our detailed guide: how to make fruit kefir.
Step 3 — Fermentation: duration and conditions for making your own kefir
Cover the jar with a thin cloth or a lid placed loosely on top—the carbon dioxide produced needs to be able to escape. Place the jar at room temperature, ideally between 18 and 25°C, away from direct sunlight.
The fermentation time is central to how to make kefir :
- 24 hours : a soft, lightly carbonated drink with a slightly sweet taste — ideal for beginners
- 48 hours : more acidic, more sparkling drink, reduced sugar content — more developed probiotic profile
- 72 hours : a very acidic, very fizzy drink — best suited for those with a taste for it.
In summer, fermentation is faster. In winter, it can take 48 to 60 hours. Observe the bubbles rising in the jar: they indicate that fermentation is active. Kefir is known for its ability to adapt to the seasons without special equipment.
Step 4 — Filter and store your homemade kefir
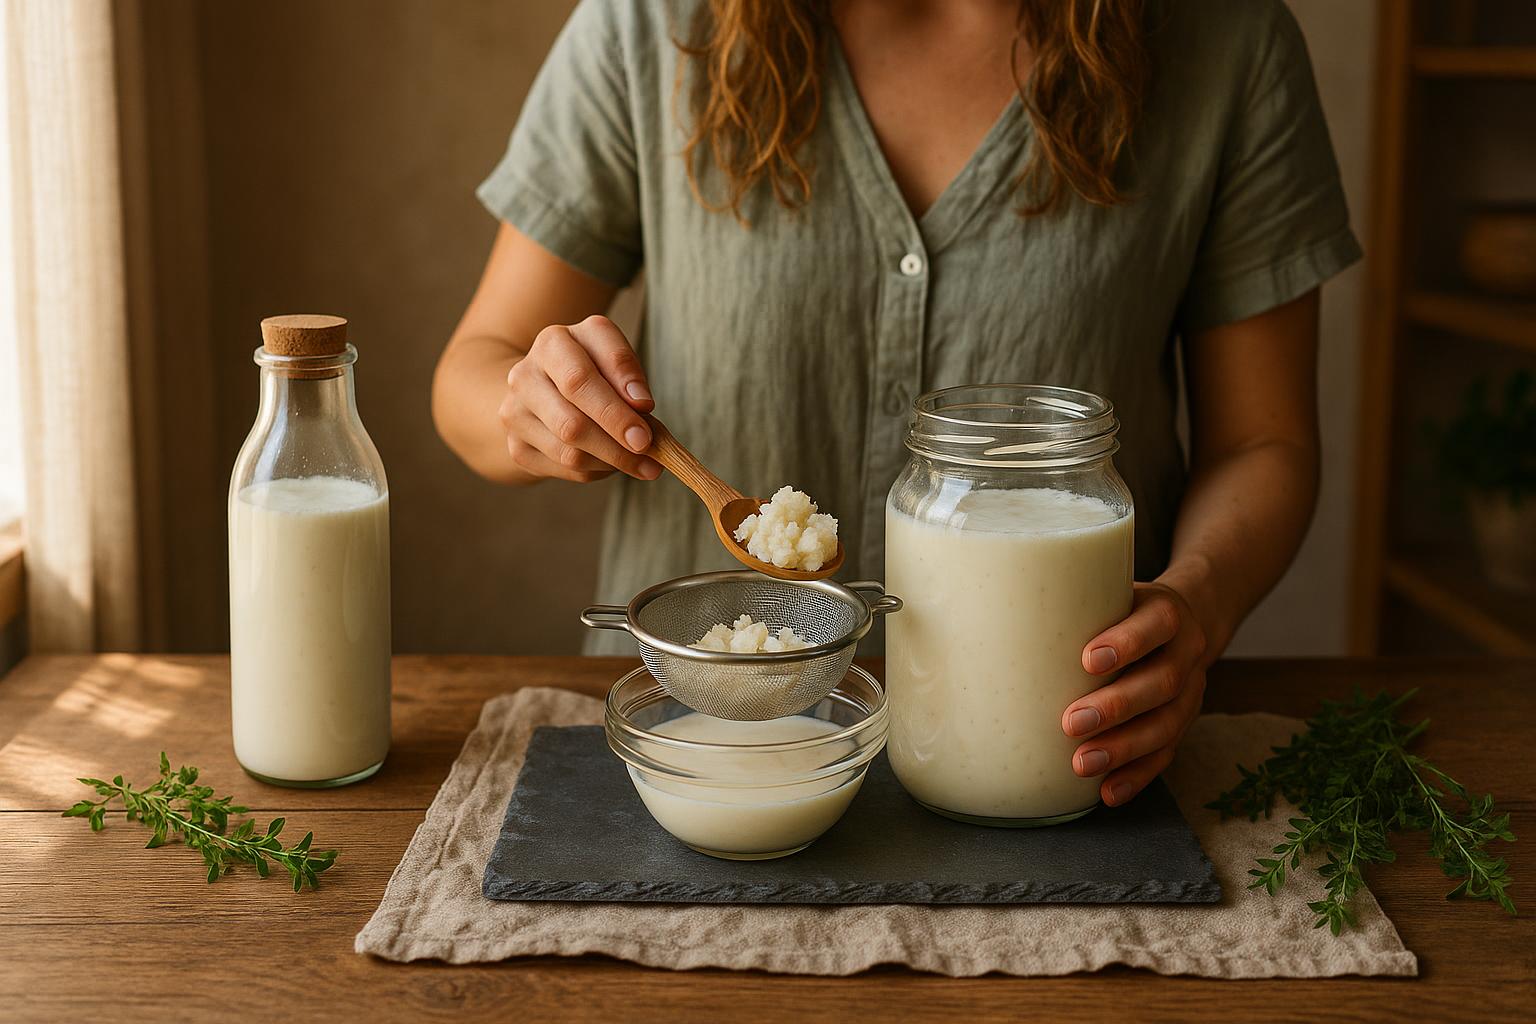
Once fermentation is complete, strain the liquid through a fine plastic or nylon sieve into a glass pitcher or bottle. Collect the kefir grains: they are alive and ready to use immediately for a new batch.
Store your strained kefir in the refrigerator in a sealed bottle. It will keep for 3 to 5 days. Fermentation continues slowly in the cold, which slightly increases the acidity over time.
If you don't want to restart fermentation immediately, store the grains in a jar of sweetened water in the refrigerator. They can then remain unfed for 1 to 2 weeks. Making kefir continuously quickly becomes a weekly habit once you get the hang of it.
Step 5 — Second fermentation for making your own sparkling kefir
The second fermentation is optional but highly recommended. It produces a naturally sparkling and flavored kefir, comparable to a probiotic lemonade.
After straining, pour the kefir into an airtight glass bottle (such as a swing-top bottle). Add fresh fruit juice—lemon, ginger, raspberry, or ginger-lemon—to make up 10 to 15% of the total volume. Seal tightly and let it sit for 12 to 24 hours at room temperature.
Open the bottle carefully: the pressure may be high. Then refrigerate. This step is key for those who want to know how to make kefir with a fizzy texture and complex aromas.
To master all the variations and customizations, our article on how to make your own kefir details each option in depth.
The scientifically documented benefits of homemade kefir
Making your own kefiralso means choosing a beverage whose benefits are supported by research. Kefir is one of the most concentrated food sources of live probiotics.
According to data published on PubMed, regular kefir consumption is associated with:
- Improved digestion : reduction of bloating, irregular bowel movements, and intestinal discomfort
- Strengthening the microbiota : diversifying beneficial bacterial strains in the colon
- Immune support : Kefir polysaccharides stimulate certain innate immune responses
- Improved lactose tolerance : for milk kefir, the fermentation process pre-digests some of the lactose
- Anti-inflammatory effects : some studies suggest a reduction in systemic inflammatory markers.
TheEFSA and ANSESremind us that health claims about probiotics remain regulated, but the scientific literature on kefir is constantly growing. Making your own kefir remains one of the most accessible ways to enrich your diet with beneficial microorganisms.
Mistakes to avoid when making kefir correctly
Even with a simple recipe, some common mistakes can compromise the quality of the fermentation. Here are the pitfalls to absolutely avoid when learning how to make kefir :
- Using water with too much chlorine : chlorine kills plants. Filter or let the water sit.
- Seal the jar tightly : the CO₂ pressure can cause the glass to shatter. Cover without sealing.
- Use metal utensils : oxidized metal damages the grains. Use wood, plastic, or glass.
- Do not rinse the grains : rinse them in cold, non-chlorinated water before each use.
- Letting it ferment for too long : beyond 72 hours, the kefir becomes too acidic and the grains can suffer.
- Exposing the jar to the sun : excessive heat disrupts fermentation and can promote mold growth.
In practice, following the kefir-making instructions allows you to avoid these mistakes from the very first batch if you meticulously follow the steps described. Consistency is the key to successful fermentation week after week.
How to obtain and maintain your kefir grains
Kefir grains are symbiotic colonies of bacteria and yeasts trapped in a polysaccharide matrix. They multiply with each fermentation and can be shared indefinitely.
Where to get them:
- From an individual via online sharing groups or fermentation forums
- In organic stores or specialty grocery stores (often dehydrated — requiring 48 hours of rehydration)
- Through local fermentation associations
Complete guide to sourcing: where to buy kefir grains: 7 best sources.
How to care for them: After each fermentation, rinse the grains in cold, non-chlorinated water. If you take a break, store them in a jar of sweetened water in the refrigerator. Change the sweetened water every 7 to 10 days. The grains can also be frozen or dehydrated for long-term storage. To check their viability: How to tell if kefir grains are still good.
Making kefir sustainably depends entirely on the health of your grains. Active grains produce a rich, fizzy, and flavorful drink. Poorly cared-for grains result in a flat and under-fermented kefir.
Popular variations: how to make your kefir differently
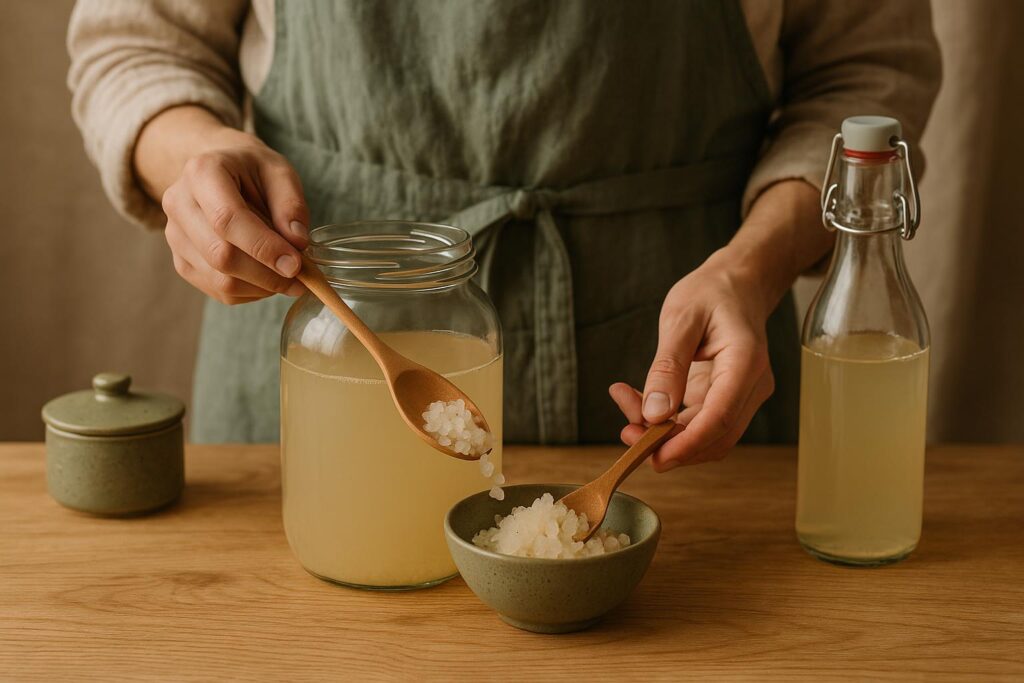
The basic recipe is a starting point. There are many ways to customize how you make kefir according to your tastes and goals:
- Milk kefir : Use milk kefir grains with whole milk. Ferment for 24 hours at room temperature. Result: a creamy drink similar to liquid yogurt.
- Coconut kefir : replace the milk with coconut milk for a lactose-free and gluten-free version.
- Red fruit kefir : add fresh raspberries or blueberries during the second fermentation for a coloured and antioxidant kefir.
- Ginger-lemon kefir : add fresh ginger juice and lime in the second fermentation for a detoxifying and digestive version.
- Lavender kefir : Infuse a few dried lavender flowers in the strained kefir for 12 hours in the refrigerator.
Each variation follows the same fundamental principles. Making kefir with different ingredients doesn't change the method, only the flavors and associated nutritional benefits.
How to make your own milk kefir: specifics
Milk kefir is distinct from water kefir. The grains used are different — larger, gelatinous, white — and the fermentation produces a creamy, slightly acidic drink.
Basic recipe for 1 liter of milk kefir:
- Pour 1 liter of whole milk (raw or pasteurized) into a glass jar.
- Add 30 to 50 g of milk kefir grains.
- Cover with a cloth and let ferment for 24 hours at room temperature.
- Filter using a fine sieve. Collect the grains.
- Consume immediately or refrigerate for up to 5 days.
Making milk kefir correctly involves never heating the milk before adding the grains: heat destroys the cultures. The milk can be used at room temperature or taken out of the refrigerator 30 minutes beforehand.
According to Harvard Health, fermented foods like milk kefir contribute positively to the diversity of the gut microbiome, with measurable effects within a few weeks of regular consumption.
Storage and consumption: everything you need to know
Making kefir is one thing; storing it properly is another. Here are the essential rules:
- In the refrigerator : 3 to 5 days in a sealed glass bottle. Fermentation continues slowly.
- At room temperature : consume within 24 hours after filtration if not refrigerated.
- Recommended quantity : start with 100 to 150 ml per day to accustom your digestive system, then gradually increase to 250–300 ml.
- Consumption time : in the morning on an empty stomach or between meals to maximize the survival of probiotics in the stomach.
Making kefir is known for its ease of integration into a daily routine. A 1.5-liter batch covers one person's needs for 5 to 7 days, providing sufficient weekly production. To know when to consume it: when to drink kefir to maximize its benefits.
- Making your own kefir relies on 5 simple ingredients: kefir grains, non-chlorinated water, sugar, dried fruit and lemon.
- Making kefir requires a fermentation of 24 to 48 hours at room temperature, without an airtight seal in the jar.
- Making kefir correctly involves avoiding any contact between the grains and metal and untreated chlorinated water.
- Making sparkling kefir is possible thanks to a second fermentation of 12 to 24 hours in an airtight bottle with fruit juice.
- Making kefir sustainably relies on the regular maintenance of the grains, which can be reused indefinitely and shared for free.
Frequently asked questions about how to make kefir
How to make kefir without grains?
It's technically impossible to make real kefir without kefir grains: these are what contain the live cultures. Freeze-dried starter cultures can produce a similar drink, but the grains don't reproduce. For authentic and sustainable kefir, obtain live grains from an individual or an organic store.
How long does it take to make kefir?
The initial fermentation takes 24 to 48 hours. An optional second fermentation adds 12 to 24 hours. In total, allow 2 to 3 days from preparation to consumption. The active preparation (mixing the ingredients, filtering) takes only 10 to 15 minutes in total.
What type of water should I use to make kefir?
Use filtered, spring, or tap water that has been left to stand for an hour to remove chlorine. Water with too much chlorine inhibits kefir cultures. Avoid distilled water, which lacks the minerals necessary for fermentation. Slightly hard mineral water is perfectly suitable.
Can you make kefir with honey instead of sugar?
Raw honey is not recommended in large quantities because its natural antibacterial properties can slow down or stop fermentation. It can be used in small quantities (20% of the total sugar). For consistent and reproducible results, choose light brown, cane, or beet sugar.
How can I tell if my kefir has fermented properly?
A well-fermented kefir will have visible bubbles in the jar, a slightly cloudy liquid, a mildly acidic and fizzy taste, and figs or dried fruit will rise to the surface. If the liquid has an unpleasant odor or shows signs of colored mold, discard everything and start again with fresh grains.
Do kefir grains multiply?
Yes. Kefir grains multiply naturally with each fermentation. After a few weeks, you'll have more grains than you need. Share them with friends and family, freeze them, or dehydrate them to preserve them. A quantity of 40 to 60 grams of grains per 1.5 liters of water is optimal.
How to make kefir without sugar?
Sugar is essential for fermentation: it feeds the grains. However, after 48 hours of fermentation, most of the sugar is consumed. The resulting kefir is therefore naturally low in sugar. If you wish to reduce the sugar content even further, opt for a longer fermentation (48 to 60 hours) and a second fermentation without adding any sugar.
Can you make kefir in winter?
Yes, but fermentation is slower in cold weather. Below 18°C, allow 48 to 72 hours instead of 24 to 48 hours. Place the jar in a warm spot in your home—on top of a refrigerator, in a heated cupboard—to maintain a stable temperature of around 20 to 22°C.
How much kefir can one drink per day?
For beginners, start with 100 to 150 ml per day for the first week to allow your gut microbiota to adjust. Gradually increase to 250 to 300 ml per day. Some people consume up to 500 ml without discomfort. See our guide: How many glasses of kefir to drink per day.
What is the difference between fruit kefir and milk kefir?
Fruit kefir uses clear or translucent grains in sweetened water: the resulting drink is liquid, slightly fizzy, and lactose-free. Milk kefir uses white, gelatinous grains in milk: the drink is creamy, thick, and contains partially pre-digested lactose. The two types of grains are not interchangeable.
How to make kefir without a glass jar?
Glass is recommended because it is inert and easy to clean. If a glass jar is unavailable, a good quality food-grade plastic container (BPA-free) can be used. Avoid metal or non-food-grade ceramic containers. The ideal size is 2 liters for producing 1.5 liters of kefir.
How to make your kefir more fizzy naturally?
For a more fizzy kefir, carry out a second fermentation in an airtight bottle (with a swing-top closure) for 12 to 24 hours at room temperature. Add fresh fruit juice to boost CO₂ production. Then refrigerate and open carefully. The longer the second fermentation, the more fizzy the drink will be.
Key takeaways
Mastering how to make your own kefir at home means investing in a powerful, economical, and fully customizable probiotic drink. In five repeatable steps, you obtain a living fermented beverage, backed by science and suitable for all tastes. The grains multiply, the method is refined, and the result improves with each batch.
Whether you choose fruit kefir, milk kefir, or a flavored variety, the principles remain the same: live grains, quality water, sugar, time, and consistency. Get started today: making your own kefir has never been easier, and you'll notice the benefits for your digestive health within the first few weeks. To learn more: the health benefits of kefir: 9 proven effects.
Studies and scientific sources
This article is provided for informational purposes only and does not constitute medical advice. Consult a qualified healthcare professional before use.